
If this is you, then you are not alone. Thunderbird 68 comes with this fancy new profile per install thing that the Firefox folk invented with Firefox 67. It serves a purpose, but for the vast majority of users it is nothing but a nuisance that offers yet another reason for things to go wrong. But it can be beaten and once set should remain the same basically forever. The current issues are mostly about changing from 32 to 64 bit builds and once that is done should not have to be repeated.
In my instruction I assume that the profile is located in the default location. if you changed this default to some other drive for space reasons for example, you will need to correct my instructions so your looking in the right place for your old profile.
First navigate to the Troubleshooting information on the help menu. Scroll to the bottom of the "Application Basics" information and select the last entry. About:profiles.


This heading is followed by all the registered profiles Thunderbird currently has registered.

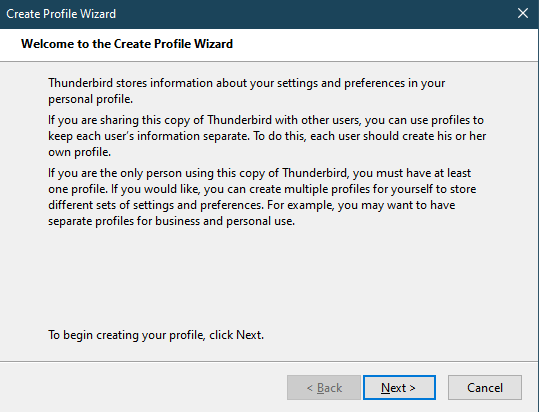
If none of the profiles listed here are your missing one, you will need to move on to creating a new profile that is in the same location as the old profile. Use the "Create a new profile" button at the top of the about:profiles page to start Thunderbirds Create profile wizard.

Now click the choose folder button. This will open a standard open dialog in the default location of the profiles. What I see looks like this

You will be returned to the about profiles page and the list will be refreshed with your new profile name which will show as default. A restart of Thunderbird should see the correct profile launched.
Profile per install and downgrade protection
Thunderbird 68 also introduced a Mozilla feature, profile per install and picked up the downgrade protection along with it. This actively prevents downgrading from one version to another. Mozilla also introduced a new command line option to override the downgrade protection.
For those using Thunderbird this command line also works. So I suppose I need to offer instructions for that.
For Windows users,
using the run command (Windows key+R)
Entering the following command line for 32 bit Thunderbird
"C:\Program Files (x86)\Mozilla Thunderbird\Thunderbird" -allow-downgrade
or the following command line for 64 bit Thunderbird
"C:\Program Files\Mozilla Thunderbird\Thunderbird" -allow-downgraded
These example assume default installs and you might just have been switched from 32 to a 64 bit build on update. So you might have to try both.
For MacOS
cd /Applications/Firefox.app/Contents/MacOS
./firefox -allow-downgrade cd Thunderbird installation directory ./thunderbird -allow-downgrade
